
If you wish to be taught find out how to delete rejected images in Lightroom, you need to learn this text. As we speak I’ll present you my easy workflow of how I clear up my picture catalog by deleting undesirable or rejected pictures.
How you can Delete Rejected Pictures in Lightroom: Fast Reply
If you’re in a rush and do not need time to learn the complete article, listed below are two methods you’ll be able to delete rejected images in Lightroom.
- Use the keyboard shortcut CMD + DELETE (Mac) or CTRL + BACKSPACE (Home windows).
- Use the highest menu: Photograph > Delete Rejected Information.
The Essential Problem of Digital Belongings Administration
Digital images gives us many unprecedented advantages, corresponding to immediate visualization and no extra value to take additional images. However on the identical time, it additionally comes with new challenges.
One of many greatest challenges we face is that almost all photographers (together with myself) are likely to overshoot or take extra digital pictures than essential.
Overshooting results in the extra difficult and time-consuming subject of digital asset administration (DAM).
Through the years, I discovered that utilizing Lightroom is vital for sustaining my sanity. I simplified my digital asset administration workflow and unapologetically delete unneeded, undesirable, and unused pictures from my digital catalog.
Right here is the place picture removing turns into an important a part of my images.
How you can Delete Pictures in Lightroom Traditional
Lightroom isn’t any totally different than most DAM applications.
To delete a photograph, you first choose the image supposed for removing. Then, you hit the DELETE or BACKSPACE key on the keyboard.
What occurs subsequent is a step that’s distinctive to Lightroom catalog administration.
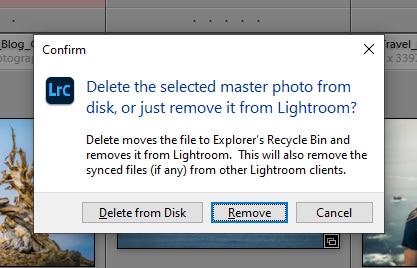
You might be introduced with a popup menu that includes two choices: DELETE FROM DISK or REMOVE.
REMOVE implies that the picture will likely be faraway from the Lightroom catalog, however it will likely be preserved on the pc’s laborious drive in its authentic location.
DELETE FROM DISK implies that the picture will likely be faraway from the Lightroom catalog and deleted from the laborious drive.
Finally, as an alternative of utilizing the DELETE or BACKSPACE keyboard shortcuts, you’ll be able to right-click on the picture and choose the REMOVE possibility.
It’s a easy and easy course of for deleting undesirable pictures in Lightroom, but it surely has one vital shortcoming. It’s too time consuming when it’s essential course of hundreds of pictures.
Right here is the place the Rejection Technique turns into extraordinarily helpful.
Rejecting As a substitute of Deleting
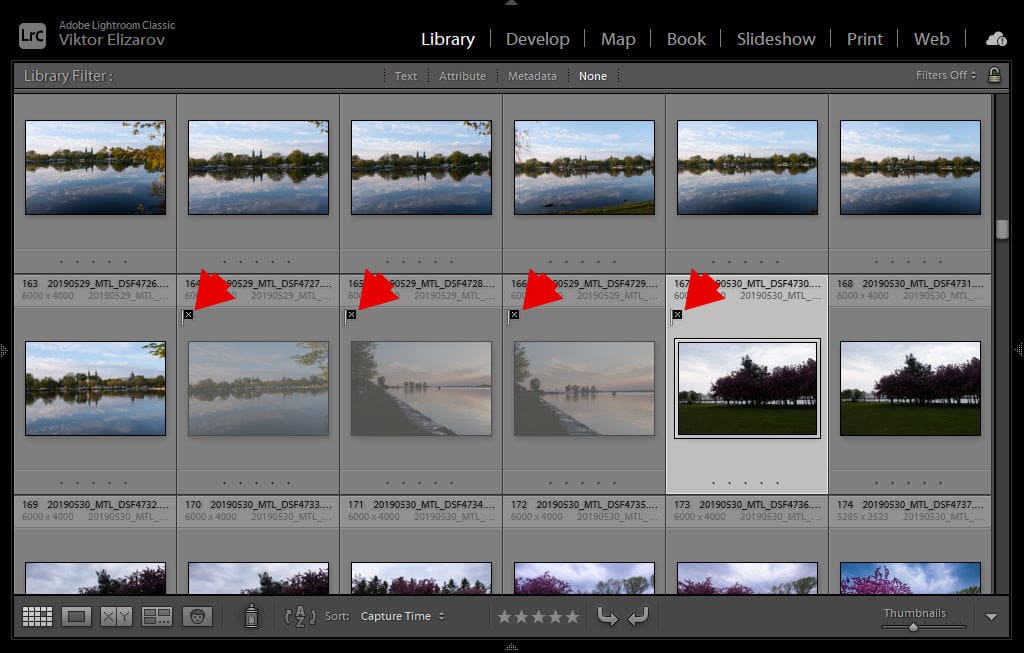
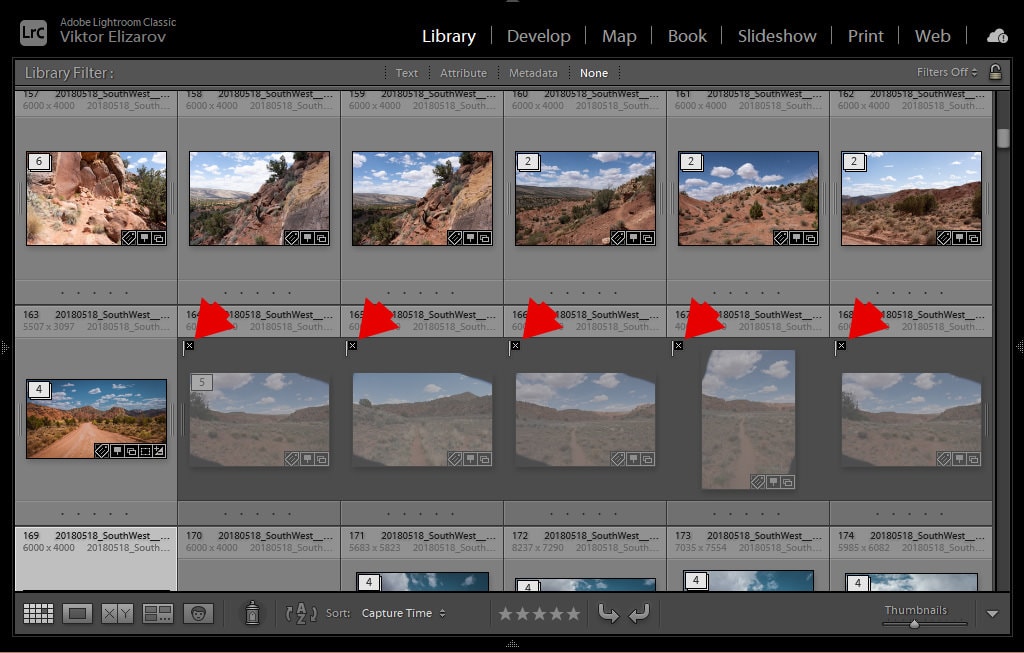
The important thing right here is to first mark the undesirable images as rejected after which delete the rejected images in a single sweep on the finish of the culling course of.
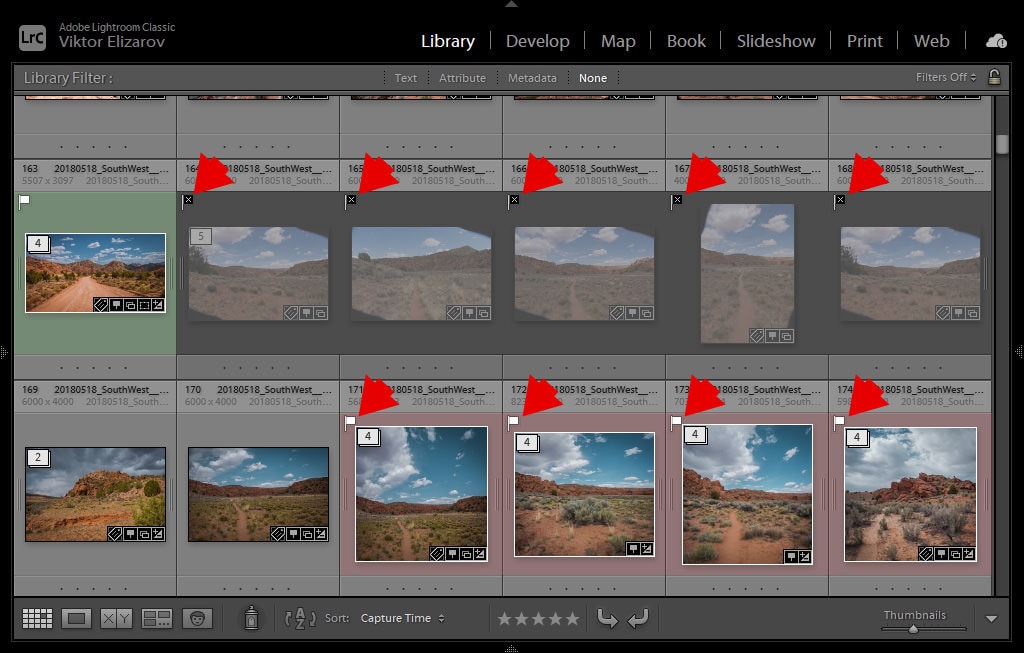
Use the “X” keyboard shortcut to mark the chosen pictures as REJECTED. The picture is just not deleted from the catalog or the pc’s laborious drive; it’s merely greyed out with a black flag positioned within the prime left nook.
Auto Advance
One other helpful possibility is to make use of the CTRL + X shortcut to auto advance to the subsequent picture after marking the chosen picture as rejected.
The even higher possibility is to use the Caps Lock key to activate the auto advance mode for each picture after utilizing the “X” keyboard shortcut.
Utilizing the Caps Lock and “X” shortcuts velocity up the culling course of and permit me to cull hundreds of images in a matter of minutes.
My Culling Workflow
Culling means to pick the keepers—the images with the potential to be revealed—and delete any unneeded pictures. In some cases, the culling course of entails ranking the keepers by giving them between one and 5 stars.
My culling workflow is a three-step course of.
Step 1 – Rejecting
Within the Library Module of Lightroom, I hit the Caps Lock key to activate the auto-advance function.
Subsequent, I am going via all my newly imported images in Lightroom and solely search for pictures to mark as REJECTED.
Probably the most obvious standards for rejecting images embody out of focus pictures, incorrect publicity, and unintended captures. I additionally reject images with poor composition that can’t be salvaged by cropping.
leading to extreme vignetting in 5 captures.
If I can’t resolve in a single to 2 seconds if I ought to reject a picture or not, I depart it unmarked and transfer ahead in order that I don’t waste any extra time.
Step 2 – Selecting
On this step, I choose the keepers by utilizing the shortcut “P” to flag them as PICKED.
I don’t give my keepers a star ranking; I merely choose the photographs which have the potential to be revealed. I would apply the star ranking to a few of them sooner or later after I begin modifying pictures.
Please word that I proceed utilizing the Caps Lock perform for auto advancing.
By the tip of Step 2, I’ve separated my images into three classes: Keepers (picked or flagged), Unmarked, and Rejected.
Later, maybe in just a few months or so, I would undergo the identical course of utilizing the unmarked pictures to search out extra keepers or extra images to reject.
Step 3 – Deleting Rejected Pictures
Lastly, I’m able to delete all of the rejected images.
I take advantage of one in every of two strategies:
- Use the keyboard shortcut CMD + DELETE (Mac) or CTRL + BACKSPACE (Home windows).
- Use the highest menu: Photograph > Delete Rejected Information.
I unapologetically delete all of the rejected pictures from the Lightroom library and the pc’s laborious drive.
How you can Delete Rejected Pictures in Lightroom | Last Ideas
Deleting pictures from the Lightroom catalog and the pc’s laborious drive looks like a trivial and unexciting activity in a photographer’s life. However if you happen to gamify the method by treating each deleted picture as an funding in your psychological well being, it will get a lot simpler.