
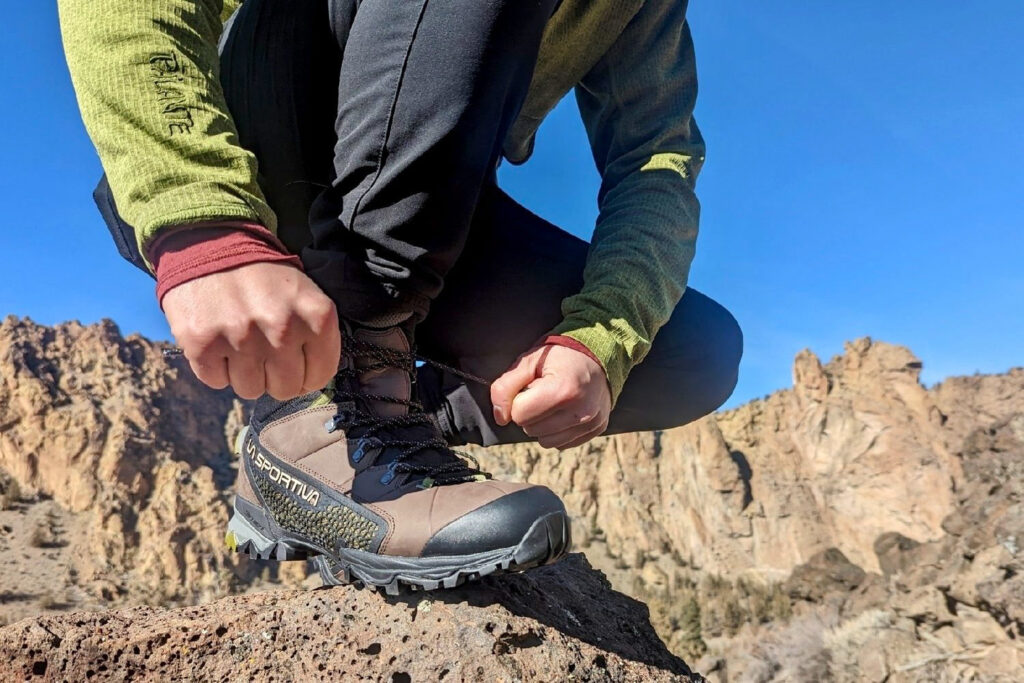
What number of methods are you able to tie your sneakers? In the event you wish to hike, you’ll want multiple. Whether or not you’re a seasoned backpacker or new to the path, correct lacing will be the distinction between a nice trek and a painful outing. Tying your sneakers for consolation means prioritizing flexibility, help, and air flow. Maintain studying to search out one of the best lacing setup in your mountain climbing boots and re-master the artwork of tying your sneakers.
WHY LACING MATTERS
Everybody’s toes are totally different, and lacing patterns can accommodate a wide range of foot sizes, arch heights, and foot shapes. The appropriate lacing configuration distributes pressure how and the place you need it. Correct lacing ought to assist ventilate the foot and permit your ankle, heel, and forefoot to flex naturally as you progress.
Lacing strategies are a simple option to keep comfy on the path. Totally different lacing patterns create a wiser match in your foot you probably have ache or strain factors. With that in thoughts, no fancy lacing can repair poor-fitting footwear. Go for comfy and durable mountain climbing sneakers or boots constructed for the particular terrain you’re exploring. To see our prime footwear solutions for the path, check out our Finest Mountaineering Sneakers for Males and Finest Mountaineering Sneakers for Ladies.
LACING TECHNIQUES
Crisscross Lacing
You’ve in all probability been utilizing Crisscross Lacing for the reason that first grade. It’s the default for on a regular basis sneakers and most actions.
Different names: Over-Beneath, Roman Lacing, Conventional, Cross X Lacing
When to make use of it: Crisscross lacing is the premise for many different lacing strategies, and likelihood is excessive that your sneakers are laced this manner proper now. This technique is flexible as a result of it really works properly for all actions, from informal metropolis walks and on a regular basis sneakers to intense sports activities and lengthy hikes. Crisscross lacing provides a predictable, cosy match and even strain distribution throughout the highest of the shoe. The largest con of Crisscross Lacing is it might’t be adjusted in the event you’re coping with foot ache, strain, or a wonky-fitting shoe.
Easy methods to lace it:
- Start – Beginning on the toe of the shoe, feed shoelaces by the primary set of eyelets.
- Crisscross – Lace your sneakers in a crisscross sample: cross the left lace to the appropriate facet and insert it into the second eyelet on the appropriate facet. Cross the appropriate lace to the left facet and insert it into the second eyelet on the left facet. Repeat with the other lace to the other facet. Proceed to repeat this sample, “crisscrossing” the laces from every eyelet.
- End lacing – Modify pressure as you might be lacing. Crisscross laces to the highest of the sneakers, then lace by the highest eyelets as regular.
- Tie – Tie laces with a easy bow or knot.
- Check – Stroll or run to check the match. Loosen or tighten the sneakers as wanted.

Surgeon’s Lacing
Surgeon’s lacing is a straightforward alteration to Crisscross Lacing (or Ladder Lacing, described beneath) that makes each “crossing” of the laces safer, and fewer more likely to loosen.
When to make use of it: To not be confused with the Surgeon’s Knot (detailed beneath) Surgeon’s Lacing method wraps the laces round one another when the laces cross. This provides additional safety so the laces don’t transfer as a lot, or in any respect. Surgeon’s Lacing is finest used on the prime few eyelets or eye hooks earlier than tying a knot, to “lock” the laces at a sure strain. Surgeon’s Lacing is helpful as a result of it may be used together with another lacing technique on this information.
Easy methods to lace it:
- Start – Beginning on the toe of the shoe, feed shoelaces by the primary set of eyelets.
- Crisscross – Lace your sneakers in a crisscross sample: cross the left lace to the appropriate facet and insert it into the second eyelet on the appropriate facet. Repeat with the other lace to the other facet.
- Wrap as wanted – At any intersections the place the laces crisscross, wrap one lace across the different 1-2 occasions. You may repeat this as many occasions as wanted to the highest of the shoe, though that is mostly used on the prime 2-3 eyelets (or eye hooks on mountain climbing boots) to maintain ankle strain tight for high-cut mountain climbing sneakers or boots.
- End lacing – Modify pressure as you might be lacing. Lace by the highest eyelets as regular.
- Tie – Tie laces with a easy bow or knot.
- Check – Stroll or run to check the match. Loosen or tighten the sneakers as wanted.
Loop Lacing
Loop lacing relieves ache throughout the highest of the foot. It makes use of customized, versatile loops between eyelets as a substitute of straight traces to launch strain factors, mitigate scorching spots, and permit the foot to breathe.
When to make use of it: Loop Lacing is a good selection for hikers and runners who want to handle a number of ache factors throughout the foot. It’s nice for prime arches or a excessive midfoot since you’ll be able to loosen the shoe at particular factors on the highest to let the foot flex naturally. This sample may cut back friction within the toes or heels by permitting extra room because the foot lifts. If in case you have consolation points along with your sneakers, loop lacing is for you.
Easy methods to lace it:
- Start – Beginning on the toe of the shoe, feed shoelaces by the primary set of eyelets.
- Crisscross – Lace your sneakers in a crisscross sample: cross the left lace to the appropriate facet and insert it into the second eyelet on the appropriate facet. Repeat with the other lace to the other facet.
- Make loops – While you attain the realm the place you need additional room, create loops at particular eyelets. To do that, thread one lace straight throughout, then straight up into the subsequent eyelet on the identical facet to create a loop. Repeat with the opposite lace on the other facet.
- Lace by loops – After forming loops, feed the laces from the other facet by the loops you simply shaped. Pull the laces tight. Then, resume the crisscross sample afterward.
- Extra loops – For a number of strain factors or swollen toes, create a number of loops. Repeat as wanted.
- End lacing – Modify pressure as you might be lacing. Crisscross to the highest of the sneakers, then lace by the highest eyelets as regular.
- Tie – Tie laces with a easy bow or knot.
- Check – Stroll or run to check the match. Loosen or tighten the sneakers as wanted.
Window Lacing
Just like Loop Lacing, Window Lacing alleviates ache and scorching spots on prime of the foot. The distinction is that Window Lacing creates greater gaps to accommodate bigger scorching spots, taller arches, or extra intense strain factors.
Different names: Field Lacing
When to make use of it: It is a good choice for hikers breaking of their sneakers and experiencing foot ache whereas transferring or folks with vast toes. Window Lacing kinds gaps or “home windows” by skipping an eyelet, which helps with air flow as properly. If in case you have important strain factors on prime of your foot or are craving extra air flow, you’ll profit from Window Lacing.
Easy methods to lace it:
- Start – Beginning on the toe of the shoe, feed shoelaces by the primary set of eyelets.
- Crisscross– Lace your sneakers in a crisscross sample: cross the left lace to the appropriate facet and insert it into the second eyelet on the appropriate facet. Repeat with the other lace to the other facet.
- Type the “window” – After the primary or second set of eyelets, run every lace straight throughout to the eyelet on the other facet. Then, lace all sides to the subsequent eyelet above it (as a substitute of crossing the highest of the shoe once more). By skipping an eyelet, you create the “window” in your laces. Then, resume the crisscross sample.
- Extra “home windows” – You may create 1-2 extra home windows within the lacing in the event you want much less strain or extra air flow.
- Tie – Lace by the highest eyelets as regular. Tie laces with a easy bow or knot.
- Check – Stroll or run to check the match. Loosen or tighten the sneakers as wanted.
Heel Lock Lacing
Are you coping with heel slippage or free sneakers? Heel Lock Lacing is your finest wager to stop hotspots and rubbing behind your foot. With two easy loops on the prime of the shoe, it secures your foot and provides extra stability.
Different names: Lock Lacing, Runner’s Lacing
When to make use of it: Heel lock lacing is widespread with long-distance runners, thru-hikers, and backpackers. This sample is useful when tackling steep, uneven floor and plenty of elevation change. Heel Lock Lacing retains your shoe tight to your foot, including each ankle and heel stability. It’s additionally one of the best configuration for rigid soles or an extended break-in interval since this sample maximizes contact between the only real of your foot and the only real of the shoe. Although there are many nice methods to stop hotspots and blisters, Heel Lock Lacing is a quick and efficient instrument to assist. For extra blister prevention suggestions, see our information How To Deal with Blisters Whereas Mountaineering.
Easy methods to lace it:
- Start – Beginning on the toe of the shoe, feed shoelaces by the primary set of eyelets.
- Crisscross– Lace your sneakers in a crisscross sample: cross the left lace to the appropriate facet and insert it into the second eyelet on the appropriate facet. Repeat with the other lace to the other facet.
- Repeat virtually to prime – Proceed crisscross lacing till the second-to-last set of eyelets on all sides on the tongue.
- Make loops – On the second-to-top eyelets, as a substitute of crossing the laces over, make a small loop on all sides. To do that, feed the lace again on itself to type a loop. In case your shoe or boot has double eyelets set shut collectively, feed the lace by the second eyelet to create a loop.
- Lace by loops – Insert every lace into the loop shaped on the other facet.
- Tighten – Pull laces to tighten the loops. This could cinch the shoe round your ankle and pull the shoe round your heel.
- Tie – Tie laces with a easy bow or knot.
- Check – Stroll or run to check the match. Loosen or tighten the sneakers as wanted.
Toe Lacing
Whether or not you’re coping with toe swelling, forefoot ache, otherwise you simply want extra flexibility for the entrance of your foot, we extremely advocate mastering a lacing method particularly in your toes.
Different names: Forefoot Lacing, Ball-of-foot Lacing
When to make use of it: For anybody spending lengthy quantities of time strolling, toe-friendly lacing must be part of your ability set. Toe Lacing helps your toes breathe and unfold out (as a lot because the shoe permits). It accommodates a wider forefoot. In the event you’re coping with swollen or jammed toes, Toe Lacing helps relieve the strain buildup. A great Toe Lacing method can cut back the prospect of getting black or “lifeless” toenails that intense motion may cause.
Quick model of toe lacing:
Skip backside eyelets – For the quickest model of toe lacing, merely skip the primary two eyelets close to the toe, and begin lacing on the second eyelets with the sample of your selection from there. This may instantly create extra room and adaptability, and take away strain from the toes and forefoot.
Easy methods to lace it:
- Start – Be sure that one shoelace is about ⅔ of the size of the opposite. Beginning on the toe of the shoe, feed shoelaces by the primary set of eyelets.
- First shoelace – Feed the shorter shoelace from the primary eyelet on the backside of 1 facet straight into the highest eyelet on the other facet. Now, your shoelace ought to run diagonally throughout the entire prime of the shoe. This lets you loosen the complete shoe from the toe with a single lace.
- Second shoelace – For the longer, reverse shoelace, feed it straight into the second eyelet of the other facet, crossing the shoe at an angle. Then, run the shoelace horizontally to the second eyelet on the unique facet. Repeat this: run the longer shoelace as much as the third eyelet of the other facet, then once more horizontally to the third eyelet on the unique facet.
- Lengthy lace on prime – Take care that the “longer” lace all the time goes over the shorter lace as you’re employed your approach up the shoe. This longer lace creates the stress for this sample, conserving the shoe cosy.
- Repeat – Repeat this sample to the highest of the shoe.
- Tie – Put longer lace by the highest eyelet as regular. Tie laces with a easy bow or knot.
- Check – To loosen the toe space, untie the sneakers and loosen the “shorter” lace that runs diagonally from toe to tongue beneath the “longer” lace. Because it’s straight linked to the eyelets on the toe, now you can simply loosen the lacing on the forefoot. Stroll or run to check the match. Loosen or tighten the sneakers as wanted.
Ladder Lacing
The straight-across repetition of the laces, paired with the laces sitting outdoors the eyelets, offers the shoe a “ladder” look. However Ladder Lacing isn’t just for aesthetics. It lets you tighten your laces to a selected strain at small intervals throughout the highest of the foot.
Different names: Straight Bar, Style Lacing
When to make use of it: Ladder lacing is widespread for locking your laces securely in place. It really works properly for hikers who don’t wish to re-lace their sneakers in any respect. If you understand precisely how you want your laces positioned and don’t need them to maneuver or loosen all through the day, this sample is an effective choice. This method can be widespread with of us who’ve wider toes or toe ache because it may give extra management over how a lot strain or how tight laces are throughout the highest of the foot. Ladder Lacing is commonly used within the navy as a result of it’s so safe. It’s not as straightforward to regulate as others on this checklist, so watch out to pressure laces as you go.
Easy methods to lace it:
- Start – Beginning on the toe of the shoe, feed shoelaces by the primary set of eyelets.
- Up one eyelet – Feed your lace by the second set of eyelets on the identical facet so it enters on the skin of the shoe. The aglet must be pointed inside in the direction of the other facet. Do that on either side.
- Straight throughout – Subsequent, feed every lace by the second eyelet on the other facet. The laces must be fed by the identical eyelet you simply used for the other lace. Set the laces so that they sit flat on prime of the opposite for a clear look. That is the primary “rung” of the ladder.
- Non-compulsory looping – You may as well put shoelaces by the loops shaped on the skin of the shoe and tighten, however this may be much like Loop Lacing (the second method we mentioned above). When tightened, these loops will be adjusted to alleviate strain.
- Repeat to the highest – Repeat this course of: up one eyelet on the identical facet, by the identical holes on the other facet for a “ladder”. Proceed to the highest set of eyelets on the shoe.
- Maintain it clear – “Clear” the laces for additional stability by ensuring they aren’t folded or twisted.
- Tie – Tie laces with a easy bow or knot.
- Check – Stroll or run to check the match. Loosen or tighten the sneakers as wanted.
KNOT TECHNIQUES
Commonplace Knot
The usual knot might be the way you’ve tied shoelaces because you first discovered.
Different names: Bunny Ears, Loop Knot, Loop, Swoop and Pull
When to make use of it: That is the commonest and sensible option to tie on a regular basis mountain climbing and trainers. The Commonplace Knot is a safe, balanced knot that’s straightforward to tie because it’s already behavior for most individuals. Nonetheless, the Commonplace Knot is unreliable as a result of it comes aside simply over time. For lengthy adventures, it’s going to seemingly should be re-tied or adjusted a number of occasions.
Easy methods to tie it:
- Beginning place – Type a beginning knot by wrapping the left lace round the appropriate lace as soon as.
- Type a loop – Type the appropriate lace right into a loop.
- Wrap it round – Wrap the left lace first across the again, then the entrance, of the loop you simply shaped with the appropriate lace.
- Push the lace by – Push the left lace by the outlet shaped on the backside to create one other loop.
- Pull each loops – Pull the left lace loop and the appropriate lace loop on the identical time to tighten.
- Non-compulsory repeat – Repeat steps c to e once more so as to add additional safety to this knot.
- Tighten – Clear the knot. Be sure that loops and ends are roughly the identical size, and the knot is tight.
Surgeon’s Knot
This knot prevents your laces from coming undone by including an additional loop to the usual knot.
Different names: Sherpa Knot
When to make use of it: That is the method surgeons usually use after they’re tying off sutures, because it maintains pressure by the entire stitching system with out coming undone. It’s a extremely efficient knot in order for you a one which’s acquainted, however stronger and extra sturdy than the usual.
Easy methods to tie it:
- Beginning place – Type a beginning knot by wrapping the left lace round the appropriate lace as soon as.
- First loop – Make a loop out of 1 lace.
- Loop the loop – Wrap the other lace behind the loop on the primary lace and round it to the entrance.
- By – Push the other lace by the outlet shaped on the backside. Type a second loop.
- By once more – Wrap the newly shaped second loop again by the outlet once more.
- Loop toe loop once more – Pull the second loop all over the outlet for the second time.
- Tighten – Pull each ends of the laces and loops to tighten the knot.
- Clear and stage – Be sure that the knot is safe, loops and ends are principally equal in size, and laces are out of the way in which.
Double Slipknot
It is a much less widespread however critically efficient knot that, as soon as set, hardly ever comes undone. It’s an incredible “set-it-and-forget-it” knot.
Different names: Fast-Launch, Draw Knot, Ian Knot
When to make use of it: A Double Slipknot could also be an excessive amount of for informal sneakers however it is a nice one to grasp for endurance sports activities and lengthy hikes. It really works properly for low-tension laces and is a dependable choice when your sneakers simply received’t keep tied, since an efficient double slipknot is powerful. As a bonus, Double Slipknots nonetheless come aside shortly – however solely while you’re prepared.
Easy methods to tie it:
- Beginning place – Type a beginning knot by wrapping the left lace round the appropriate lace as soon as.
- Type two loops – Type the appropriate lace and the left lace into separate loops.
- Cross the loops – Cross one loop over the opposite.
- Wrap left over proper – Wrap the left lace loop first across the again, then the entrance, of the appropriate lace loop.
- Wrap proper over left – Wrap the appropriate lace loop across the again of the left lace loop.
- Push the loops by – Push the left and proper lace loops by the outlet shaped on the backside.
- Pull each loops – Pull the left lace loop and the appropriate lace loop on the identical time to tighten.
- Tighten – Clear the knot and ensure the loops and ends are roughly the identical size and the knot is tight.
TIPS FOR OPTIMAL LACING
Experiment – Totally different sneakers and actions require totally different lacing strategies. We advocate making an attempt lacing patterns to search out one of the best one for you. Lacing helps cater footwear round your foot form. In the event you’re coping with points like bunions, hammertoes, or vast toes, strive new lacing strategies to make your sneakers give you the results you want.
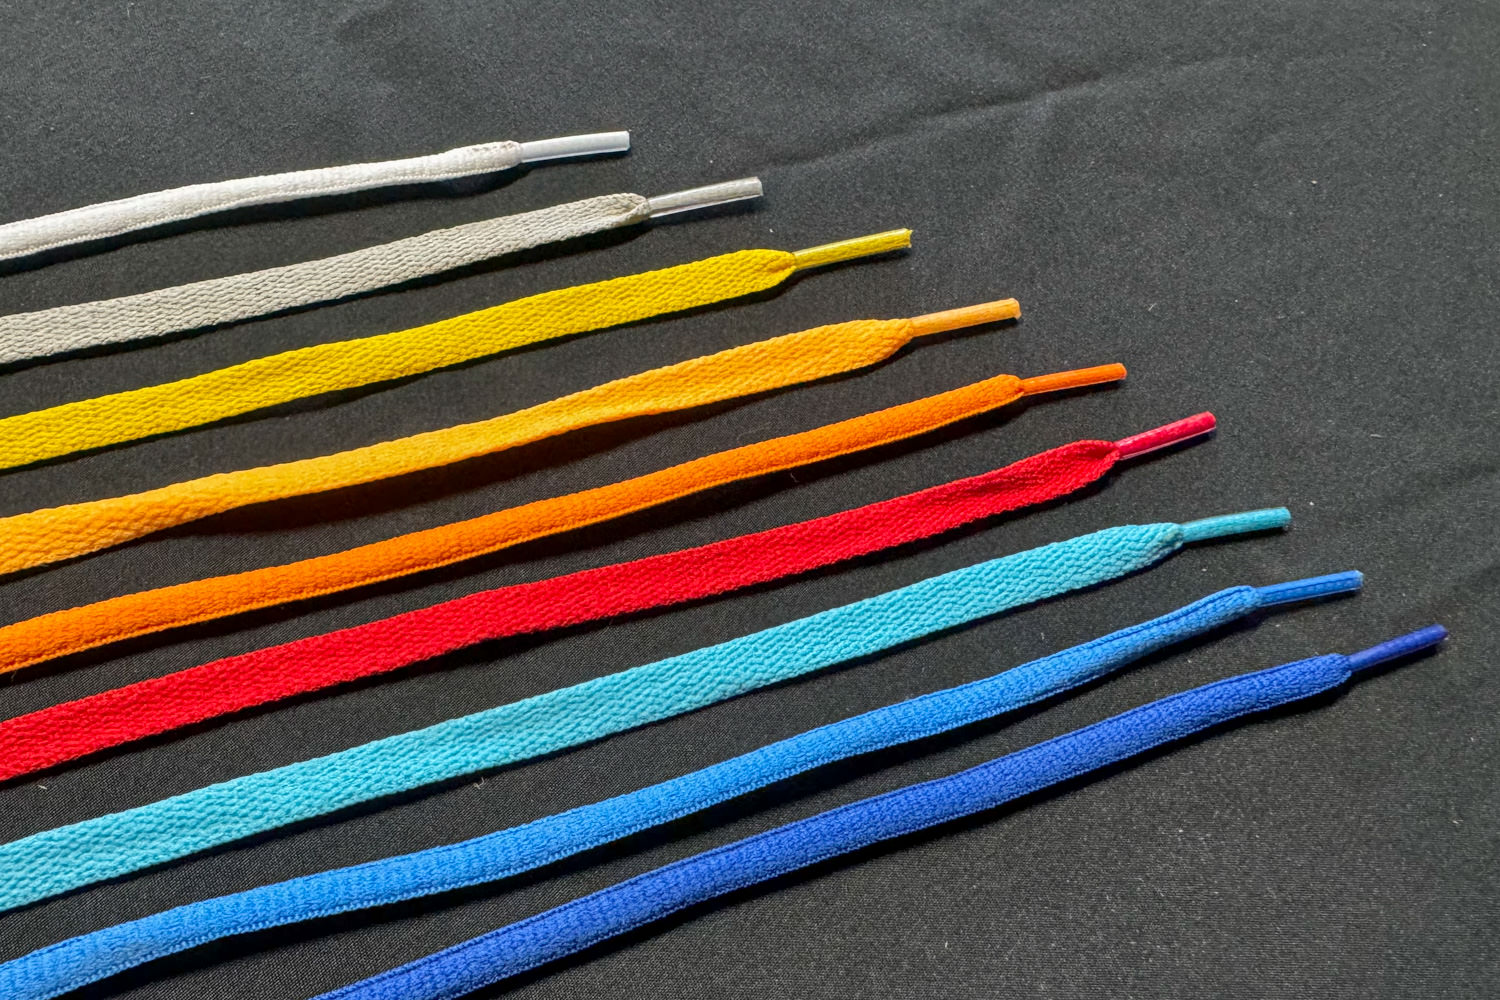
Use high quality laces – Shoelaces are as a lot about trend and aesthetics as they’re about performance and exercise. In case your mountain climbing shoe laces are too quick, stiff, or tough to tighten, it’s time to switch them. Swap out previous laces which might be worn or unraveling for a greater match. Search for extra sturdy, high-quality laces that don’t fray or break simply.
Don’t over-tighten – In case your laces are too tight, they will reduce off circulation to your toes and injure your ankles. Tight sneakers can usually trigger extra issues than they repair. Be affected person when re-lacing as you discover the Goldilocks zone between too free and too tight.
Give your toes a break – House round your toes is necessary. In the event that they’re tightly squished collectively, you may find yourself with scorching spots, broken nails, and compounding accidents. Be sure that your lacing offers toes room to maneuver naturally and breathe to keep away from discomfort.
Lock the lace ends – When your lace ends are free, they’re extra more likely to turn out to be untied, get caught on objects, and journey you up. Tuck laces into your sneakers or again into the lacing sample to cease them from flopping round whereas on the path.
Test and alter – Laces are solely pretty much as good as they’re safe. Keep in mind to test and alter laces and knots throughout a hike to maintain your footwear feeling steady and comfy on roots, rocks, or grime.
Attempt different lacing methods – Lately, conventional shoelaces are usually not the one choice. In the event you’re bored with conventional laces choices like Velcro, slip-on designs, and single pull-tab methods may be a greater match.
CHOOSE THE RIGHT LACES
Flat laces – Flat laces are vast however not thick. They’re mostly discovered on on a regular basis and informal sneakers. Flat laces are often much less sturdy and don’t deal with put on and tear in addition to spherical laces. They do have a tendency to carry a knot higher, however usually that’s due to the fabric they’re constituted of (often cotton) greater than the form.
Spherical laces – Spherical laces are usually utilized in athletic and mountain climbing sneakers. The cylindrical form is sturdy since there aren’t any edges to fray and tangle. Spherical laces like skinny paracord usually have a “core” – a special materials on the within that makes them stronger – and a “sheath” on the skin fabricated from sturdy materials like nylon or polyester so that they shed grime and moisture extra simply.
Materials – Shoelace materials is necessary to find out how straightforward your laces are to tie, how a lot water they maintain, and the way lengthy they final.
- Cotton – The usual for many shoe laces. Cotton is comfy and eco-friendly for on a regular basis sneakers, however it’s absorbent, and never as sturdy as different choices.
- Kevlar weave – Simply probably the most sturdy materials being woven into present lacing is Kevlar. These laces are typically light-weight however impressively long-lasting and abrasion and waterproof. Nonetheless, they’re very costly and will be stiff for a very long time.
- Polyester – Polyester laces are sturdy and proof against abrasion. Polyester is the premise for widespread supplies like Taslan. Nonetheless, like Kevlar, polyester laces will be stiff and are much less more likely to keep in a knot.
- Nylon – Nylon is powerful and moisture-resistant. Nylon laces are very versatile with makes use of from climbing sneakers to soccer cleats. Nylon is the primary textile in laces like widespread mountain climbing choices like paracord, spherical laces, and Cordura. The draw back of Nylon laces is they are often slippery.
Stretch issue – The stretchiness of your shoelaces issues for the kind of shoe you put on and what exercise you’re doing. Static shoelaces are perfect for mountain climbing boots. They’ve little or no stretch, so they provide a customized match that stays precisely the way in which you tie them. That is useful on demanding mountain climbing trails the place a agency, safe match will stop motion throughout the boot and cut back the prospect for damage, like backpacking on rugged mountain trails with rocks and uneven surfaces.
Stretchier laces are fascinating for path operating and light-weight mountain climbing sneakers. Though they may should be readjusted periodically as they transfer along with your foot, they provide a extra comfy and forgiving match by permitting the foot to stretch and transfer naturally. A stretchy lace permits for quicker, extra exact lacing to accommodate damage and fatigue, and will be shortly loosened for breathability in scorching climate.
Waxed – Waxed laces are primarily discovered on informal and formal footwear, however are usually not unusual on mountain climbing and mountaineering boots. For the reason that wax coating sheds water and is much less more likely to fray over time, waxed laces are typically extra waterproof and sturdy. Nonetheless, they don’t seem to be as versatile as different forms of laces and don’t maintain a knot as properly due to the slippery floor pressure. On the whole, we advocate avoiding waxed laces for mountain climbing.
Various laces – There are different closure methods for sneakers apart from shoelaces. Think about Velcro straps, zippers, buckles, or laceless slip-on designs to search out the appropriate closure system in your wants. Elastic wire methods with a pull-tab fastener are particularly widespread in lots of mountain climbing, athletic, and youngsters’ sneakers.
SHOE SELECTION GUIDE
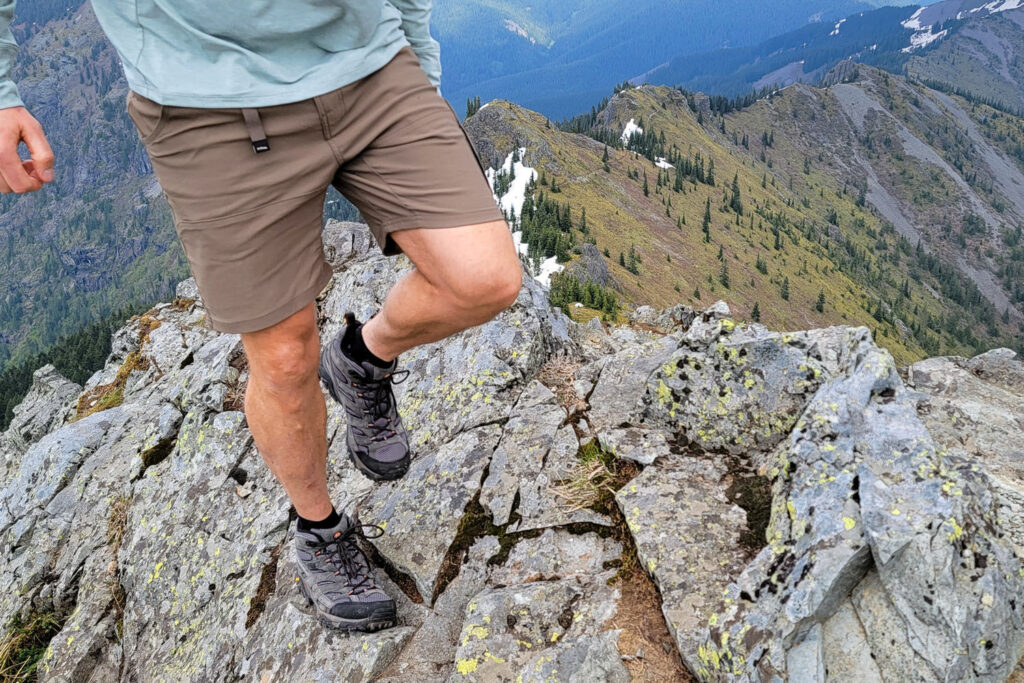
Low-cut sneakers
Low-cut sneakers embrace path runners and a few mountain climbing sneakers. Often, low-cut mountain climbing sneakers are extra breathable, dry quicker, and weigh lower than mid-cut and high-cut choices. They’re designed for nimble and quick motion over much less technical terrain in spring, summer time, and fall situations. Nonetheless low-cut sneakers supply restricted ankle help, much less foot safety total, and are typically much less efficient than high-cut sneakers in moist and chilly situations.
- Finest lacing strategies – Crisscross, Window, Heel Lock
- Our prime decisions:
- Saucony Peregrine 14 (Males’s / Ladies’s) – An efficient, light-weight path shoe with a low-cut design, all these sneakers want is the right lacing sample so that you can sort out miles of backcountry.
- HOKA Speedgoat 5 (Males’s / Ladies’s) – The Hoka Speedgoats are identified for his or her burly tread and supportive foam soles. A sensible lacing and knot mixture would make these much more comfy.

Mid-cut sneakers
Mid-cut sneakers come as much as your ankle. They steadiness ankle help and freedom of motion for the reason that greater cuff provides extra safety for the foot in underbrush whereas providing average agility. Mid-cut mountain climbing sneakers can often deal with extra moist climate and muddy terrain than low-cut sneakers. They’re usually heavier and fewer breathable as properly. As a result of they sometimes have an additional set of eyelets on the ankle versus mountain climbing sneakers, there’s a wider number of lacing choices.
- Finest lacing strategies – Crisscross, Loop, Window, Heel Lock, Toe, Ladder Lacing
- Our prime decisions:
- Topo Athletic Trailventure 2 WP – Topo hit the nail on the pinnacle with mid-rise sneakers that cowl the ankle and supply extra stability than low-cut sneakers, however nonetheless supply a large toe field and glorious traction.
- Merrell Moab 3 WP – The Moabs are a basic mid-cut mountain climbing boot, successfully combining consolation and help with a low price ticket. They’re widespread for his or her consolation, vast sizing, and stability.

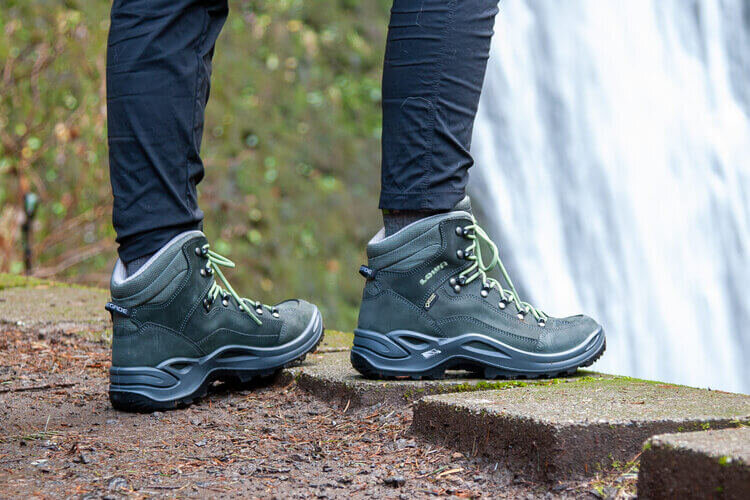
Excessive-cut sneakers
In terms of high-cut sneakers, consider conventional mountain climbing boots. They prolong over the ankle. Boots are sometimes insulated for the climate and are sometimes probably the most versatile for chilly situations and excessive moist and off-trail situations. As a result of they’re taller and bulkier, high-cut sneakers are typically heavier, hotter, and extra cumbersome than lower-cut choices. Nonetheless, high-cut choices often supply probably the most management with lacing. Taller boots imply extra eyelets and eyelet hooks, to make for adaptable lacing patterns and probably the most personalized match.
- Finest lacing strategies: Crisscross, Loop, Window, Heel Lock, Toe, Ladder Lacing
- Our prime decisions:
- Lowa Renegade GTX – These sneakers are tremendous sturdy, supply glorious ankle and foot safety, and work properly with any lacing or knotting method.
- Vasque Breeze – One other high-performing, high-cut mountain climbing boot that may deal with virtually any path situations and most climate.
BOTTOM LINE
Correct lacing is essential while you’re mountain climbing. When our toes are comfy we transfer quicker, for longer, and with extra vitality. Whether or not you employ Crisscross Lacing for stability or Heel Lock Lacing for additional help, the appropriate technique will solely enhance your time on the path.
Attempt a number of lacing patterns to search out one of the best match in your toes. The appropriate one can handle particular foot issues. And, when paired with a robust knot, you’ll mess along with your shoelaces much less and focus in your adventures extra. To increase the lifetime of your shoelaces – and your footwear – contemplate an everyday cleansing routine, particularly after muddy hikes.
Realizing find out how to lace and knot your sneakers in a number of methods straight interprets into a greater mountain climbing expertise. The extra lacing strategies you grasp, the quicker you’ll be able to depart foot ache, scorching spots, and fatigue within the mud.
MORE INFORMATION
Was this information useful for conserving your mountain climbing boots clear and recent? Depart us a remark you probably have any suggestions, questions, or solutions. Or, go to us on Fb and Instagram to remain up to date with the most recent and best in mountain climbing gear and present developments.
You’ll want to try the CleverHiker Gear Information the place our workforce of specialists exams and evaluations one of the best out of doors journey tools in the marketplace – so that you don’t need to. Listed here are different articles you would possibly like: